Create an ML Pipeline using Elyra and Kubeflow Pipelines
Contents
Create an ML Pipeline using Elyra and Kubeflow Pipelines#
In order to run the above notebooks in automation, we can configure a Kubeflow Pipeline using the Elyra notebook pipelines editor from Jupyterlab
Create kubeflow runtime configuration#
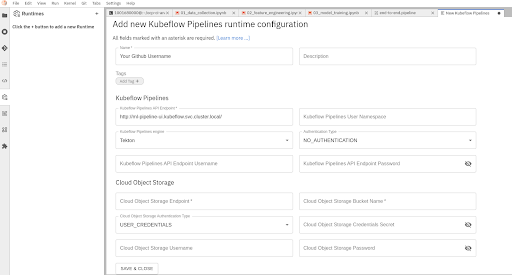
As a first step, create a Kubeflow runtime configuration. In order to do that
Click the Runtimes icon on the left hand side toolbar. Click the ‘+’ on the top right to create a new runtime configuration and select “New Kubeflow Pipelines Runtime configuration”. Fill in the following:
Name: Give the runtime configuration your Github username eg: oindrillac
Kubeflow Pipelines API Endpoint: http://ml-pipeline-ui.kubeflow.svc.cluster.local/
Kubeflow Pipelines Engine: Tekton
Authentication Type: No Authentication
Cloud Object Storage Endpoint: S3 Endpoint
Cloud Object Storage Bucket Name: S3 Bucket Name
Cloud Object Storage Authentication Type: USER_CREDENTIALS
Cloud Object Storage Username: S3 Access Key ID
Cloud Object Storage Password: S3 Secret Key
Configure Pipeline#
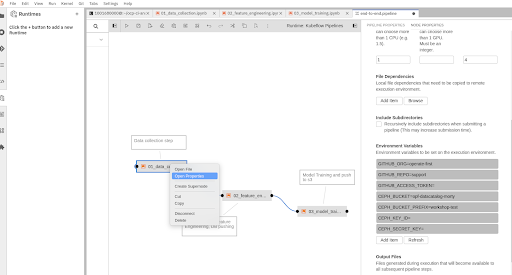
Open pipeline(end-to-end.pipeline) and click on each node and click on “Open Properties”. Fill in the environment variables which are not pre-filled for each notebook and hit “save” to save the pipeline
Run pipeline#
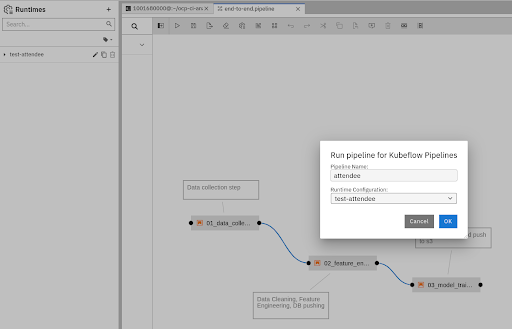
To run the pipeline, click on the “Run” icon on the top toolbar and give the pipeline any name (recommended that you use your github username so that it’s easier to debug later) and select the kubeflow runtime configuration that you created earlier and hit Submit.
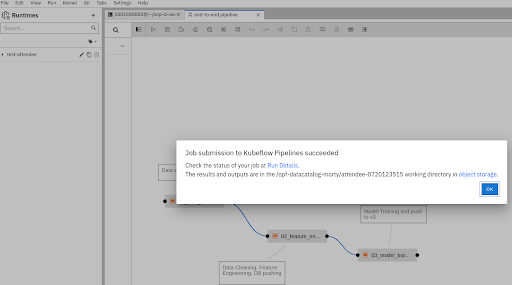
View running pipeline#
Once the pipeline has been submitted, to view the running pipeline in the Kubeflow UI, go to https://ml-pipeline-ui-kubeflow.apps.smaug.na.operate-first.cloud/#/runs
And click on the run with your username (or the name you provided it).
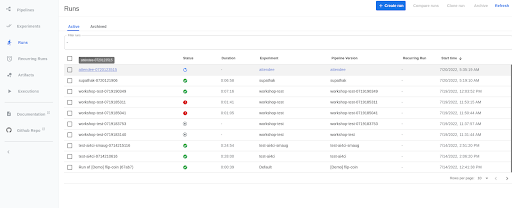
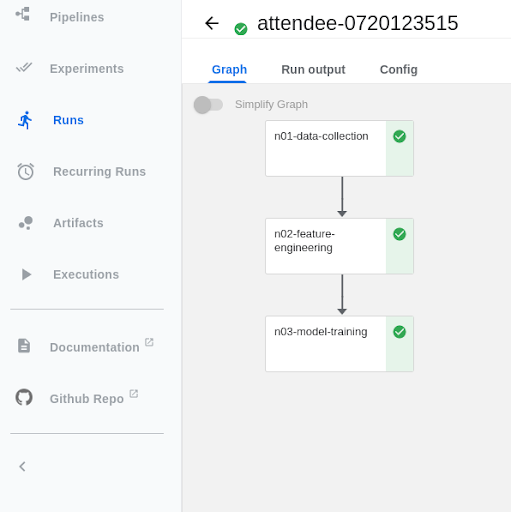
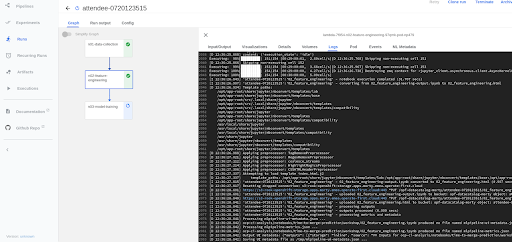
The Notebooks should look like this while running. To debug the notebooks and view logs while running the notebooks, click on the Node and go to Logs.
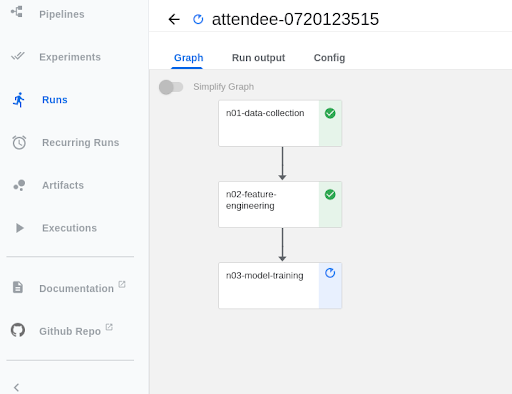
Once the Notebooks have run successfully, they should look like this.
